Clicking the Statistics button Statistics tab on the database activity window of AppDynamics for Databases can help you discover problems with your database server, application, and network.
...
AppDynamics for Databases collects many of the statistical counters available from the supported database platforms, servers, and NetApp controllers by default. You can add statistics, stop or start collecting existing statistics, and delete statistics from the list and then add them back manually if needed.
The topics that follow help you manage the statistics collected.
View the Statistics Collected
From the Main Menu, click Setup and then on the setup toolbar, click Stats.

The Database Statistics Management window displays statistics available for collection for each database type. You can filter or sort the list using the headings at the top of the window.
Note: If you enter a statistic name or part of it in the heading to filter the list, the Add New Statistic window Statistic window appears. To resume viewing the entire list, click Reset.
Each individual statistic displays the following information:
- Platform: The type of monitored instance: database, server, or NetApp controller.
- Statistic Name: The name, exactly as it is represented on the monitored instance.
- Description: A free-text description of the statistic.
- Type: Either CUM (a cumulative counter which always increases over time, and therefore the collector will calculate the change in the value) or ACT (a counter which gives a point in time value, which the collector will capture).
- Collect?: This flag controls whether or not the collector will capture the specific statistic.
- Delete: This will remove the statistic completely, and you will need to manually re-add if you subsequently want to collect.
Stop or Start Collecting an Existing Statistic
...
- From the Main Menu, click Setup and then on the Setup toolbar, click Stats.
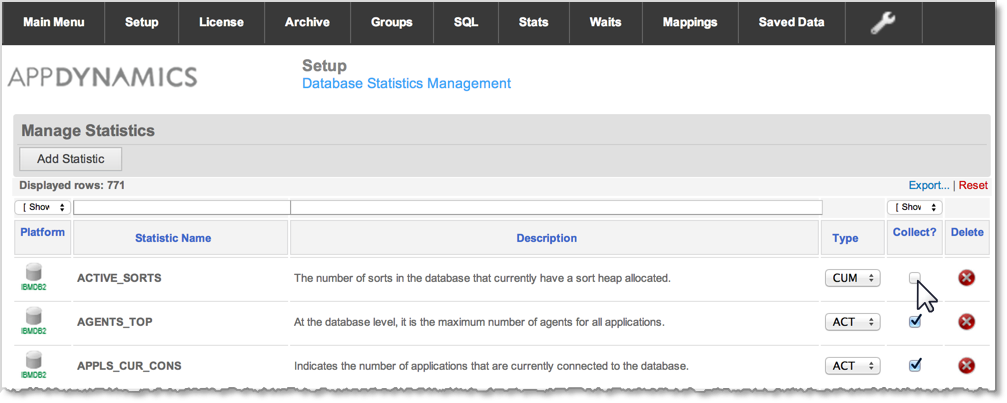 Image Modified
...
- Use the headings to filter the list of statistics or scroll through the list to find the one you want to stop or start.
...
- Click the Collect checkbox to stop or start collecting the corresponding statistic.
...
- You can click Delete if you do not want to collect the corresponding statistic. If you do delete it and decide later to collect it, you can add the statistic again.
Delete an Existing Statistic
...
- From the Main Menu, click Setup and then on the setup toolbar, click Stats.
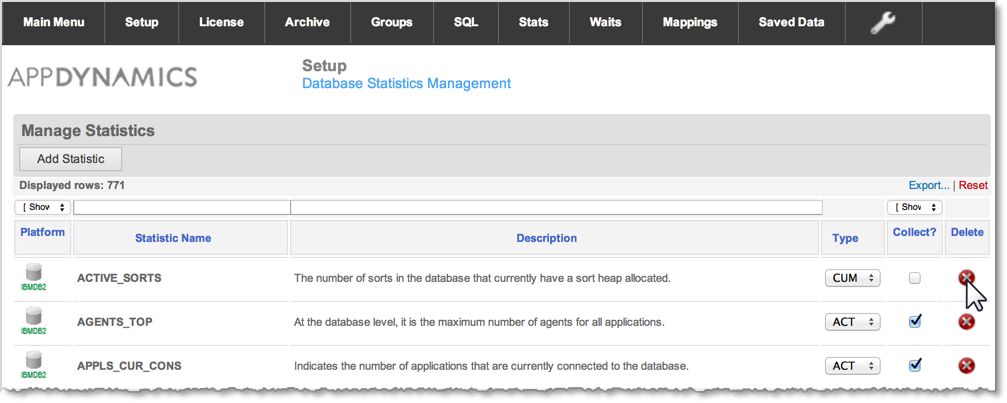 Image Modified
...
- Use the headings to filter the list of statistics or scroll through the list to find the one you want to stop or start.
...
- Click Delete to remove the statistic from the AppDynamics for Databases database and from the list of statistic that can be collected.
...
You can later add the statistic manually if needed.
Add a Statistic
To add a new statistic you will need to know:
- Where the statistic name is found, so you can add in the exact name.
- If the statistic is a growing counter (and therefore set the Statistic Type to Cumulative) or if you want to capture the Actual value.
- Follow these guidelines for determining which statistics your monitored instance has that AppD4DB can collect:
- MySQL: Any statistic available from a
show status command, which has a numeric value associated. - SQL 2000: Any statistic available from
master..sysperfinfo - SQL 2005 and above: Any statistic available from
sys.dm_os_performance_counters - Oracle: Any statistic available from
v$sysstat
...
- From the Main Menu, click Setup and then on the setup toolbar, click Stats
...
- .
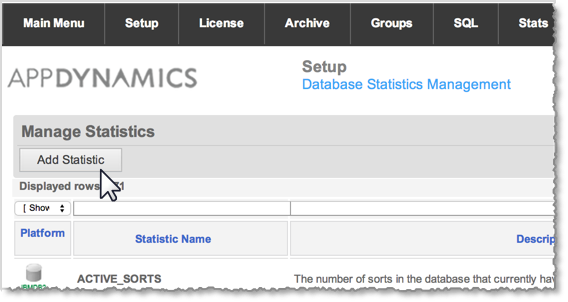 Image Modified
The Add New Statistic section appears at the bottom of the window.
 Image Modified
...
- On the Database Statistics Management window, click Add Statistics.
- Complete the fields as required and then click Add Statistic.
The new statistic appears in the list of statistics available for collection and collection is enabled.