Download page Configure Cisco AppDynamics for Splunk Log Observer Connect.
Configure Cisco AppDynamics for Splunk Log Observer Connect
This page describes the steps required to configureSplunk AppDynamics SaaS to view the logs on Splunk Cloud Platform.
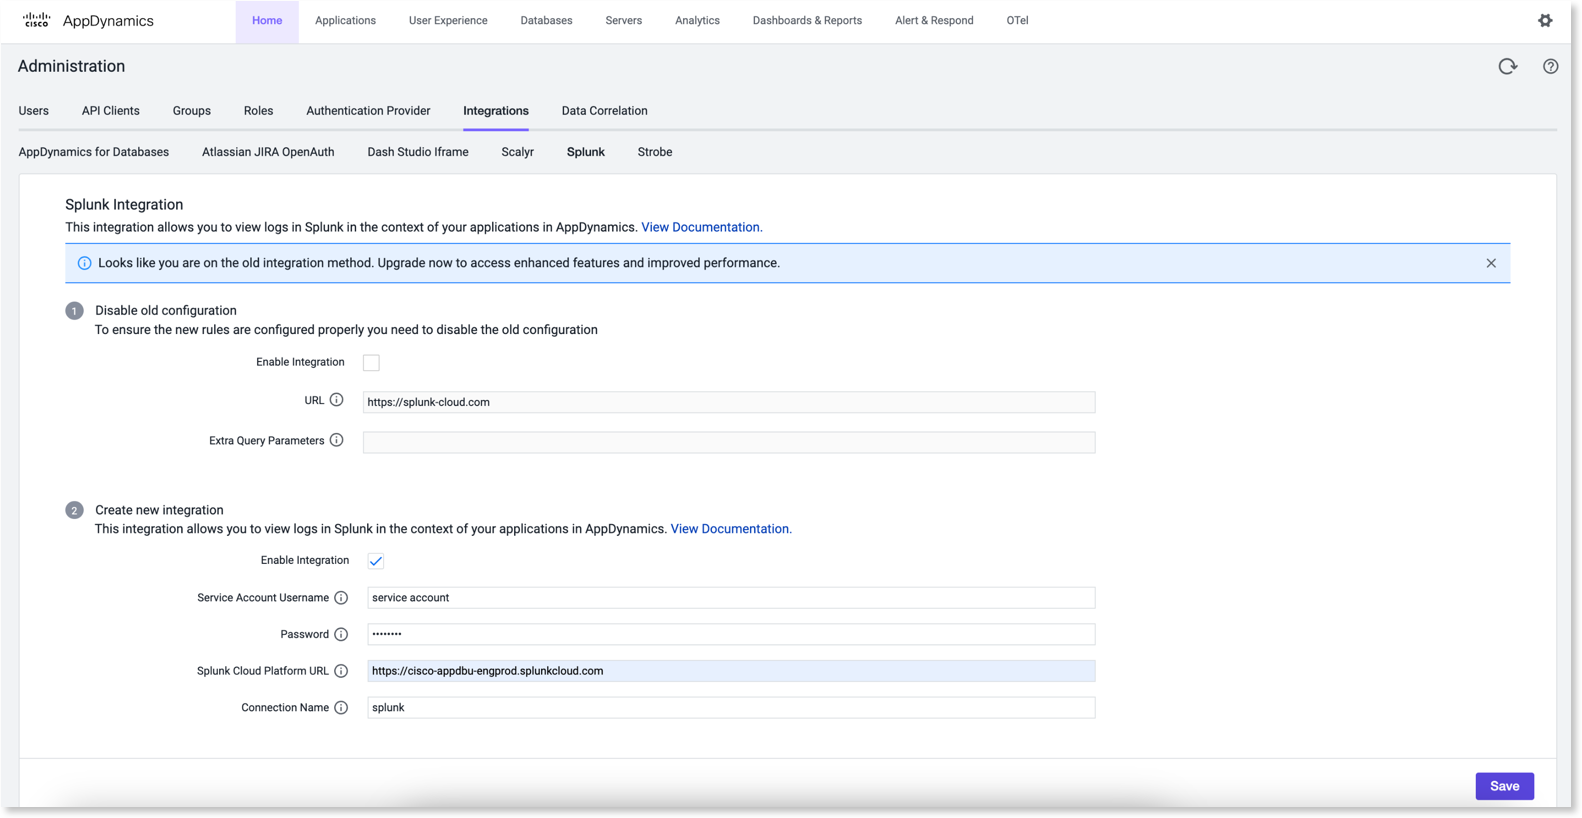
If you are using the old configuration to integrate with Splunk Cloud Platform, you must disable it before you can use the new configuration. Deselect the Enable Integration checkbox to disable the old integration.
Prerequisites
Ensure that:
you use the Controller version 24.6.2 or later.
your administrator has set the splunk.log.connect.enabled flag to true in the controller global_configuration_cluster table. If the global_connfiguration_cluster property does not work, contact Splunk AppDynamics Support to add the splunk.log.connect.enabled property with value true at the account level.
Before your Begin
Before performing the integration, ensure that you have:
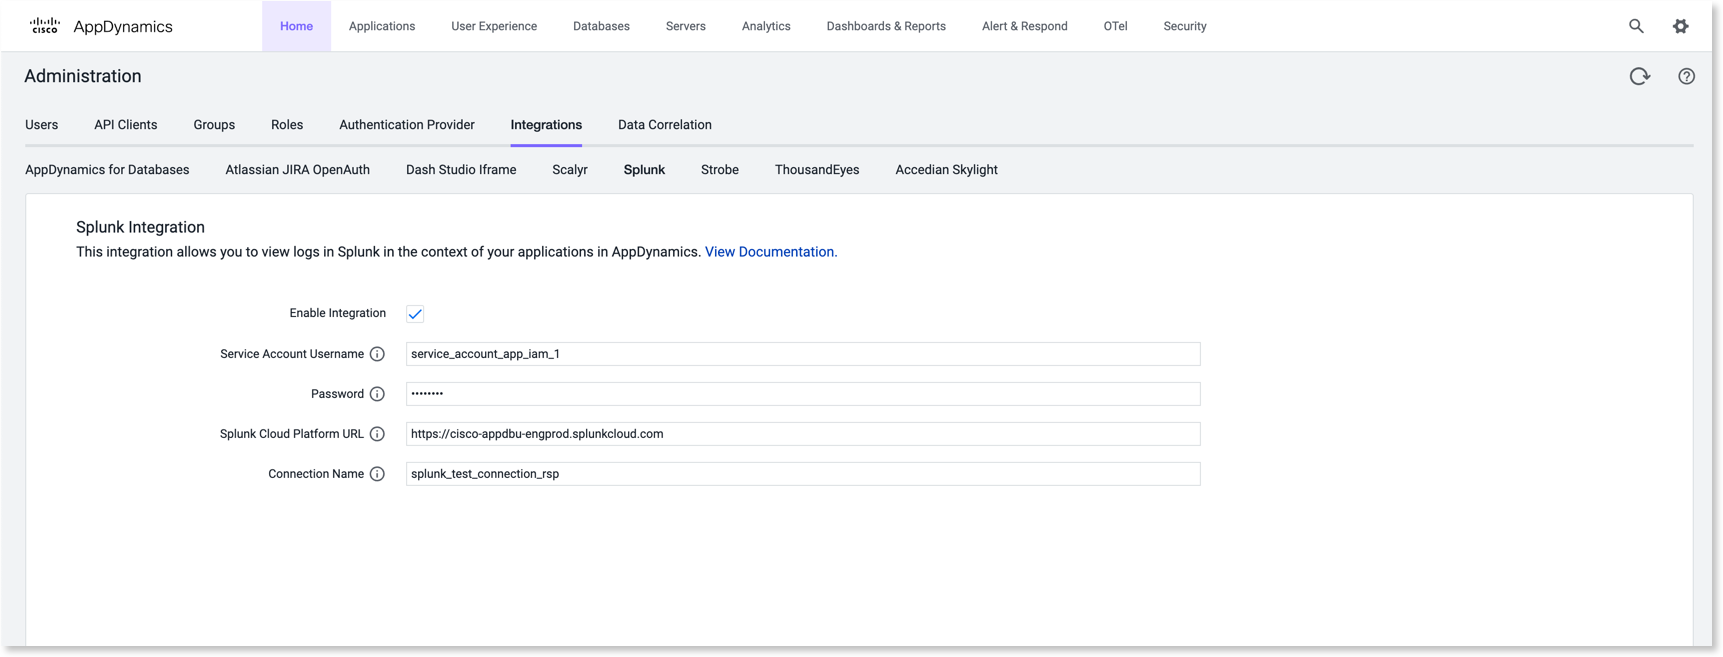
In the Service Account Username field, enter the name of the user that you have provided during the Splunk Cloud service account user configuration. You can find the name in Splunk Cloud Platform. See Configure Splunk Cloud Service Account User.
In the Password field, enter the password for the Splunk Cloud service account user. You can obtain the password from the Splunk administrator who created the Splunk Cloud service account user.
When you make any changes in this integration form, you must re-enter the password.
In the Splunk Cloud Platform URL field, enter the URL of the Splunk Cloud Platform that you want to integrate with.
In the Connection Name field, enter a name of your choice for this integration. This connection name helps you to identify your integration and the related data.
Click Save.
After you save the integration, wait for a few seconds on this page until the integration is saved successfully.