Download PDF
Download page Use the Cluster Agent.
Use the Cluster Agent
You administer the Cluster Agent from the AppDynamics Controller where you can enable, disable, configure, and delete the Cluster Agent. You can also change which namespaces to monitor.
Any configuration change you make in the Controller also applies to the Cluster Agent. These changes take a couple of minutes, and the status displays with a progress indicator.
View the Cluster Agent Summary
From the Controller UI panel:
- In the upper-right corner, click Settings
 > AppDynamics Agents.
 - Select the Cluster Agents tab to display a list of clusters. By default, all Agents are enabled.
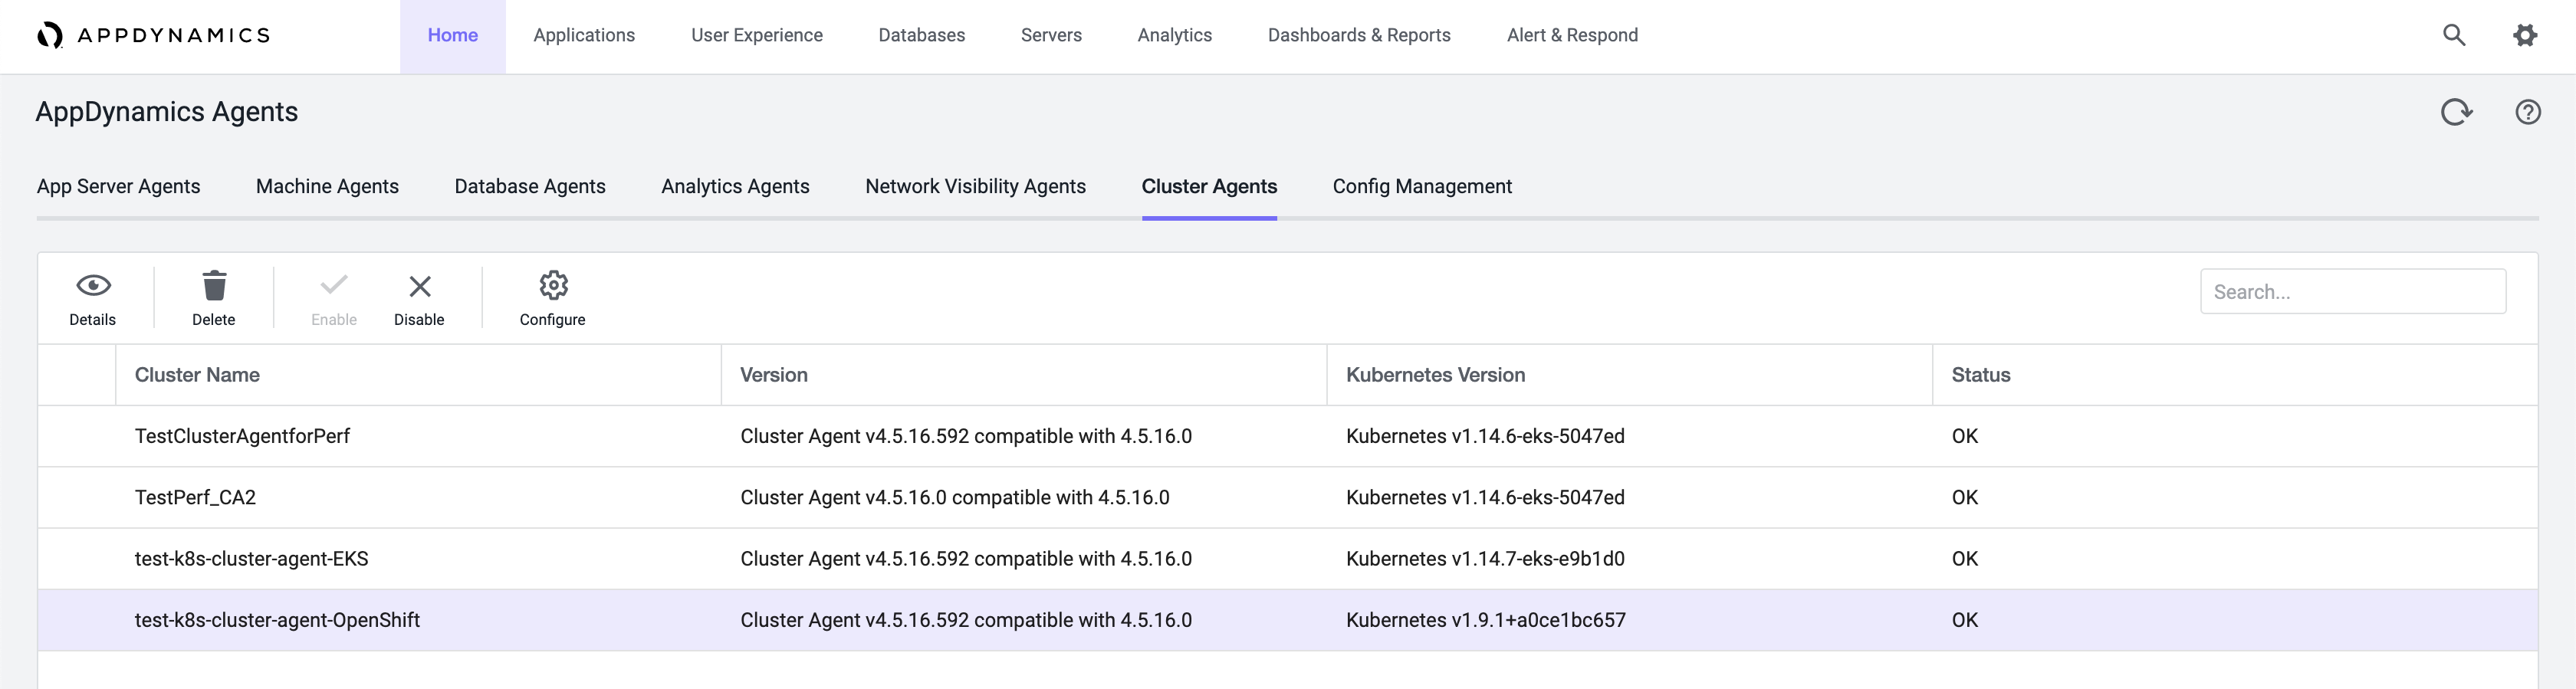
Double-click a Cluster Agent. A dialog appears showing a Cluster Agent Summary of your current settings. The summary card shows the Cluster Name, Kubernetes Version, Cluster ID, and currently monitored Namespaces. To the right of the Namespaces table is a Search bar, where you can search by namespace.

- Click X to close the Cluster Agent Summary card.
Disable the Cluster Agent
- Select a Cluster Agent from the list.
- Click Disable
 . You can also select the Cluster name, right-click, and select Disable. A dialog appears confirming that you disabled the agent successfully. These changes take a couple of minutes, and the status displays with a progress indicator. When you disable the Cluster Agent, it does not report metrics or events, nor monitor pods or containers. You can re-enable a disabled Cluster Agent.
Enable the Cluster Agent
- Select a Cluster Agent from the list.
- Click Enable
 . You can also select the Cluster name, right-click, and select Enable. A dialog appears confirming that you enabled the agent successfully. These changes take a couple of minutes, and the status displays with a progress indicator. When you enable the Cluster Agent, it reports metrics and events, and monitors containers.
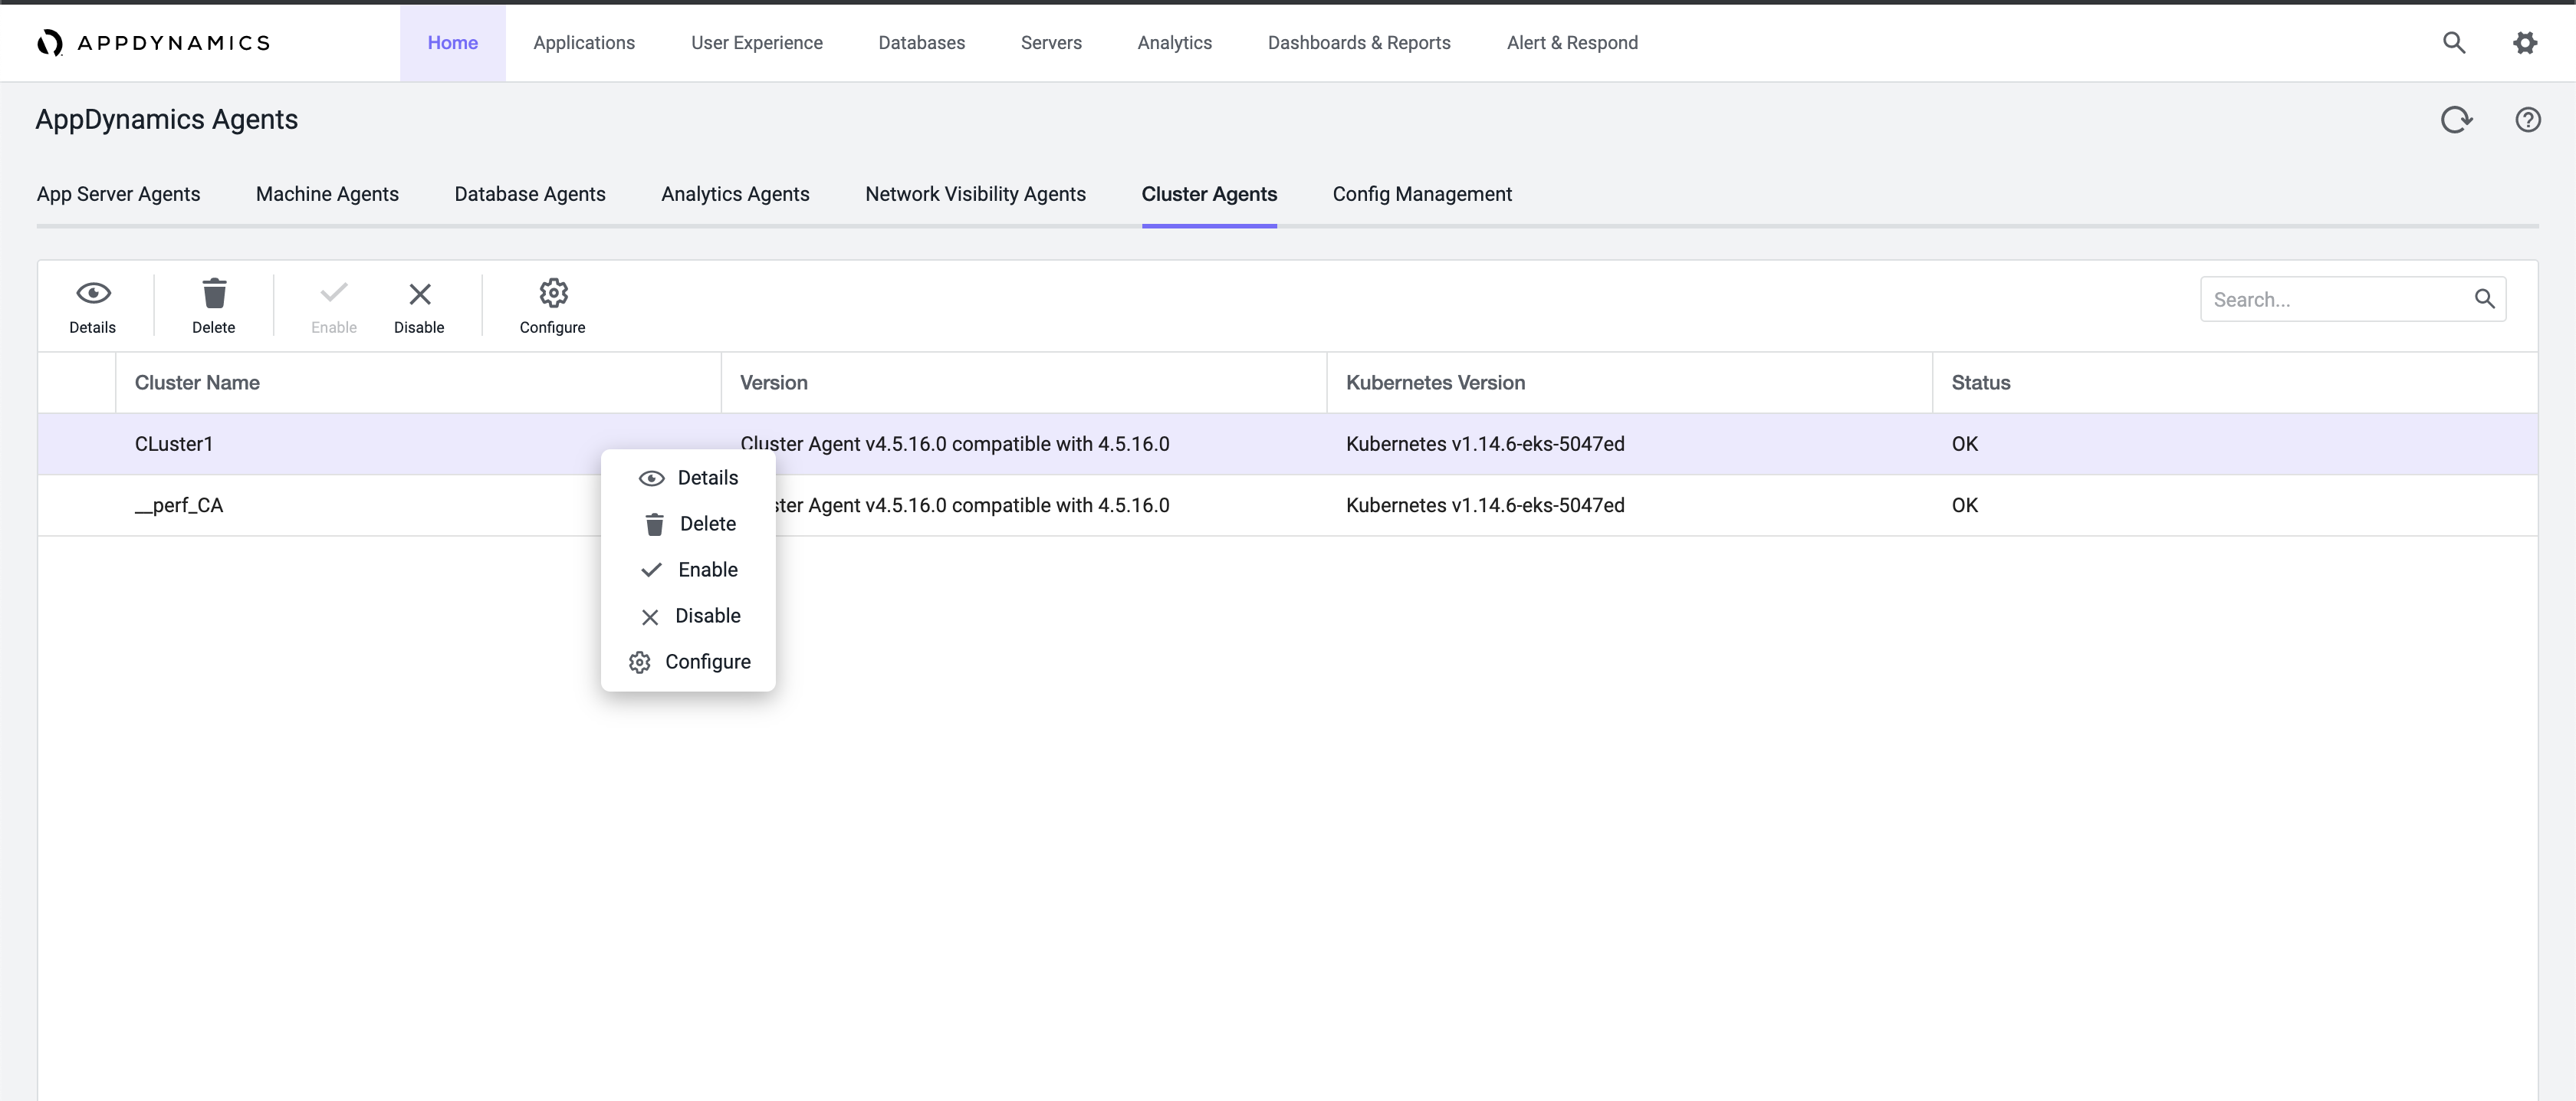
Edit Namespaces
You can modify the namespaces by using either nsToMonitor or nsToMonitorRegex fields.
These are common namespace behavior scenarios with the nsToMonitor field:
- After the Cluster Agent's initial registration, the namespaces are retrieved from the Cluster Agent
YAMLfile. - After initial registration, if the Cluster Agent restarts and the Controller is running, the Controller UI's user namespace settings take precedence.
- After initial registration, if the Controller restarts and the Cluster Agent is running, any previous changes made to the namespaces in the Controller UI are preserved.
- If both the Cluster Agent and the Controller restart, the namespaces are retrieved from the
YAMLfile.
The following are common namespace behavior scenarios with nsToMonitorRegex field:
To use the nsToMonitorRegex field, ensure that you are using Controller >= 20.10 and Agent >= 20.9.
After initial registration, at every subsequent minute the agent checks for the
nsToMonitorRegexfield to match the namespaces. If there isnsToExcludeRegexmentioned, those namespaces are excluded from the monitored namespaces.If a namespace configuration is to be monitored or ignored from the Controller, it takes precedence over the agent configuration (Cluster Agent YAML file). Therefore, if a namespace satisfies the regular expression that is configured for
nsToExcludeRegex, but the Controller configuration includes that namespace under monitored namespaces, then the namespace is monitored.
To exclude this namespace from being monitored, you must delete the namespace in the Controller configuration. In this scenario, where there is a conflict between the agent configuration and the Controller configuration, the addition or removal of the relevant namespace from the Cluster Agent configuration does not have any effect.If the Cluster Agent is restarted, the
nsToMonitorRegexandnsToExcludeRegexfields are read from the agent configuration file along with the namespaces configured in the Controller.If the Controller is restarted, the monitored and ignored namespaces included in the Controller configuration are retained and reapplied along with the agent configuration.
If both the Cluster Agent and the Controller are restarted at the same time, the
nsToMonitorRegexandnsToExcludeRegexfields are read from the agent configuration file. The namespaces to be monitored are determined based on the agent configuration.If a new namespace matching the configured regex is added, the namespace is monitored without any additional configuration. Similarly, when a namespace does not match the configured regex, it is not monitored.
You can modify namespaces in a Cluster by:
Updating Namespaces in the Cluster Agent Configuration File - Modify the
nsToMonitoror thensToMonitorRegexfield in thecluster-agent.yamlfile before deploying the Cluster Agent. Namespaces mentioned in thensToMonitorfield are considered only during initial registration. You can update thensToMonitorRegexfield in thecluster-agent.yamlfile even after the registration.
You can specify regular expressions (regex) for the namespaces that you want to monitor by using thensToMonitorRegexfield. If you do not require the Cluster Agent to monitor some of the namespaces that match the regex specified in thensToMonitorRegexfield, then you can specifynsToExcludeRegexalong withnsToMonitorRegex. For example, if Cluster Agent must monitor all the namespaces except the namespace that has the name starting with exclude, specifynsToMonitorRegexas.*andnsToExcludeRegexas ^exclude.Editing Namespaces in the User Interface - Edit namespaces after you deploy the Cluster Agent. Once deployed, the cluster is listed under AppDynamics Agents/Cluster Agents. Open the AppDynamics browser-based configuration user interface and edit namespaces.
Update Namespaces in the Cluster Agent Configuration File
To update namespaces in a cluster, use the nsToMonitor or the nsToMonitorRegex field in the cluster-agent.yaml before deploying the Cluster Agent.
Updating namespaces using the nsToMonitor field in the cluster-agent.yaml file does not change your currently monitored namespaces. However, updating namespaces using the nsToMonitorRegex changes the currently monitored namespaces. The scenarios are mentioned at Edit Namespaces.
If the Cluster Agent pod unexpectedly restarts, the namespaces stored in the Controller take precedence and are preserved. See Troubleshoot the Cluster Agent.
To update namespaces:
- Open the
cluster-agent.yamlfile in a text editor. Locate the
nsToMonitorfield:nsToMonitor:-"default"-"appdynamics"Or
To specify namespaces based on regular expressions, include thensToMonitorRegexfield:nsToMonitorRegex: <regular expression>nsToExcludeRegex: <regular expression> #This is an optional fieldVerify the list of namespaces. If it is not correct, add or remove namespaces in the
cluster-agent.yamlfile.Open a command prompt. To apply the namespaces changes, enter:
kubectl apply -f cluster-agent.yamlTo verify that the AppDynamics Operator registered the monitored namespace value, enter:
When using thensToMonitorfield:kubectl -n appdynamics describe cm cluster-agent-config | grep APPDYNAMICS_CLUSTER_MONITORED_NAMESPACES -A2When using the
nsToMonitorRegexfield:kubectl-app describe cm cluster-agent-mon
This is the expected output from the nsToMonitor example:
|
If you use the nsToMonitorRegex field, the default value of nsToMonitor is ignored.
Edit Namespaces in the User Interface
Once you have deployed the Cluster Agent, the Selected namespaces column displays the currently monitored namespaces.

- Double-click a cluster from the list.
- Click Configure
 . An Edit Cluster Agent dialog appears.
- To modify namespaces, select a namespace by checking the corresponding box.
- Once the desired namespace box is checked, click the arrow to move it to either the Selected namespace table or the Available namespace table.
- Click OK to close the dialog box. These changes take a couple of minutes and the status displays in a banner notification.
Updating namespaces in the cluster-agent.yaml file does not change your currently monitored namespaces. It assures that if the Cluster Agent pod unexpectedly restarts, that your namespaces are preserved. See Troubleshoot the Cluster Agent.
Add or Remove Namespaces
- Double-click a cluster from the list.
- Click Configure.

- To modify namespaces, select a namespace by checking the corresponding box. Once the desired namespace box is checked, click the arrow to move it to either the Selected namespace table, or the Available namespace table.
- Click OK to close the dialog box. These changes take a couple of minutes and the status displays with a progress indicator..
Delete a Monitored Namespace
To delete a Cluster Agent monitored namespace:
- Double-click a cluster from the list.
- Click Configure. The Edit Cluster Agent dialog appears.
- Select a namespace by checking the corresponding box.
- Click the arrow to move to either the Available namespace, or to the Selected namespace table.
- Delete the namespace from your Kubernetes cluster.
Delete the Cluster Agent
To delete a Cluster Agent:
- Select the Cluster Agent name that you want to delete.
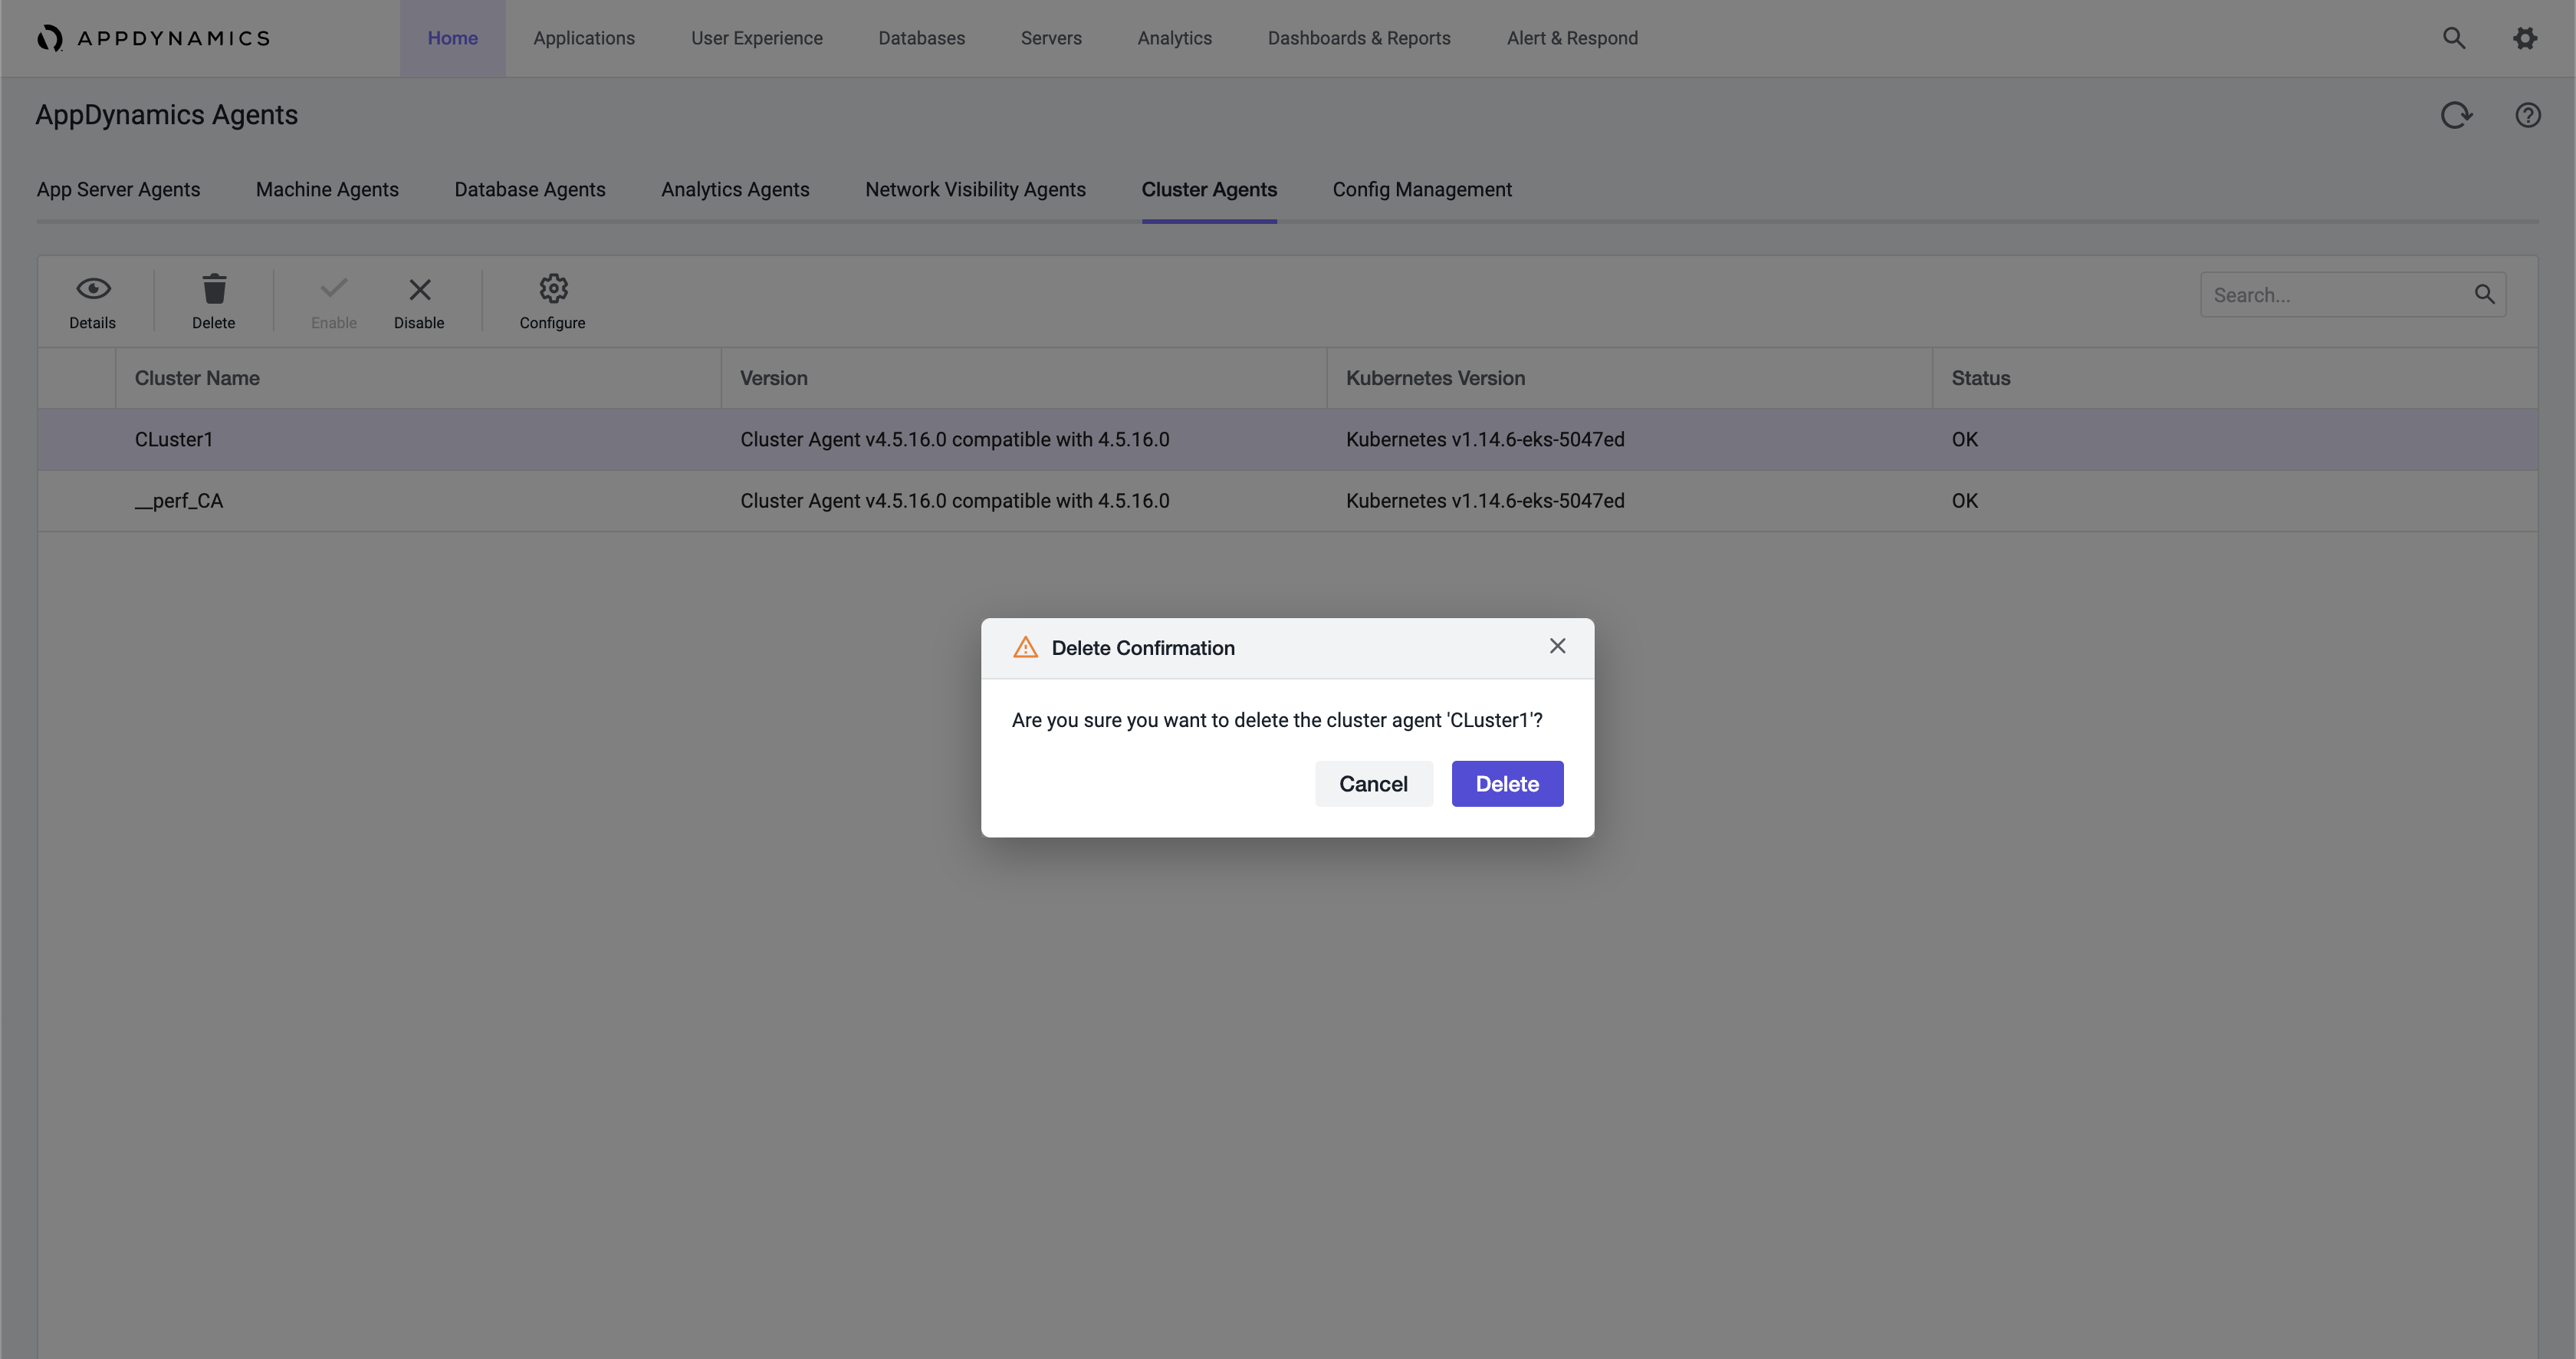
- Click Delete
 . A dialog asks you to confirm that you want to delete the Cluster Agent.
 - Click Delete. If you delete a Cluster Agent, you will lose all historical data.