Download page Validate the Cluster Agent Installation.
Validate the Cluster Agent Installation
This page describes how to validate a Cluster Agent installation using the Kubernetes CLI or Helm chart.
Cluster Agent Validation
Verify that the Cluster Agent and Cluster Agent Operator pods are running by reviewing the status:
kubectl -n appdynamics get pods
NAME                                                           READY   STATUS    RESTARTS   AGE
appdynamics-operator-7958f676d9-gvdcw                          1/1     Running   0          4d21h
k8s-cluster-agent-5967c9b7b9-rkwzt                             1/1     Running   0          4d21h
CODE
Verify that the Cluster Agent is reporting to the Controller. If the Cluster Agent successfully registers with the Controller based on the credentials you entered in the cluster-agent.yaml file, and the cluster-agent-secret you created in the appdynamics namespace (which contains the Controller Account Access Key), then the Cluster Agent displays in the Controller UI under Servers/Cluster using the appName from cluster-agent.yaml.
It may take 5-10 minutes for the data to populate.
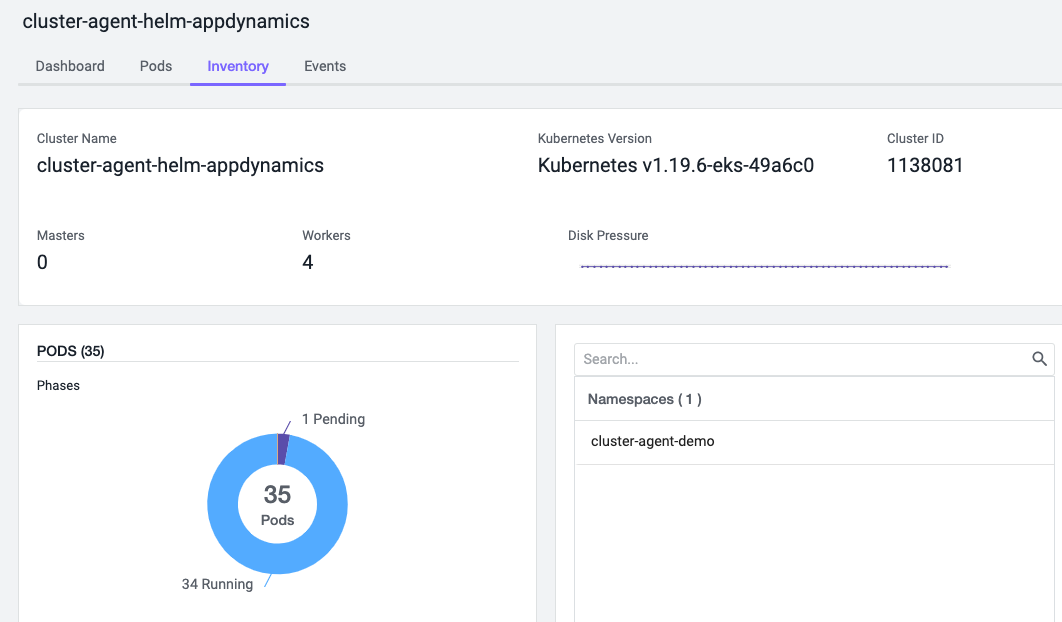
Verify the monitored namespaces. Under the Inventory dashboard, check that the monitored namespaces match the namespace configuration in the cluster-agent.yaml file and that the monitored namespaces contain deployed pods.
If necessary, update the namespace configuration (nsToMonitor, nsToMonitorRegex) in cluster-agent.yaml and re-create the Cluster Agent.