You can use Microsoft Visual Studio with the NuGet package AppDynamics.Agent.Azure.CloudServices to add the .NET Agent directly to Azure Cloud Services projects: Web Roles and Worker Roles.
Prepare to Install the NuGet Package
To install the AppDynamics for Windows Azure NuGet package you need:
- Connection information for your Agent-to-Controller Connections 4.4
- Visual Studio >= 2012
- A Visual Studio solution to monitor
The user account running Visual Studio must have the following permissions to the solution:- Read and Write permissions to each project directory
- Read and Write permissions to each Visual Studio .NET C# Project (*.csproj) file
- Read and Write permissions to the Service Definition (ServiceDefinition.csdef) file
- Windows Azure SDK
- Windows Azure account
These instructions assume you are familiar with NuGet package management in Visual Studio and with the Microsoft Azure Portal. You can also try the step-through tutorial on how to instrument an App Service on the community knowledgebase.
If you are upgrading to a new version of the AppDynamics for Windows Azure NuGet Package, see Upgrade AppDynamics.WindowsAzure NuGet Package.
Add the .NET Agent to Your Azure Solution
Use the NuGet package manager to browse the nuget.org package source and install the AppDynamics.Agent.Azure.CloudServices package to your Azure solution in Visual Studio.
The AppDynamics.Agent.Azure.CloudServices package installation prompts you as follows:
- The installer may ask you to verify your changes. If so, click OK.
- Click I accept to agree to the terms of the license.
The package manager installs the .NET agent into your project.
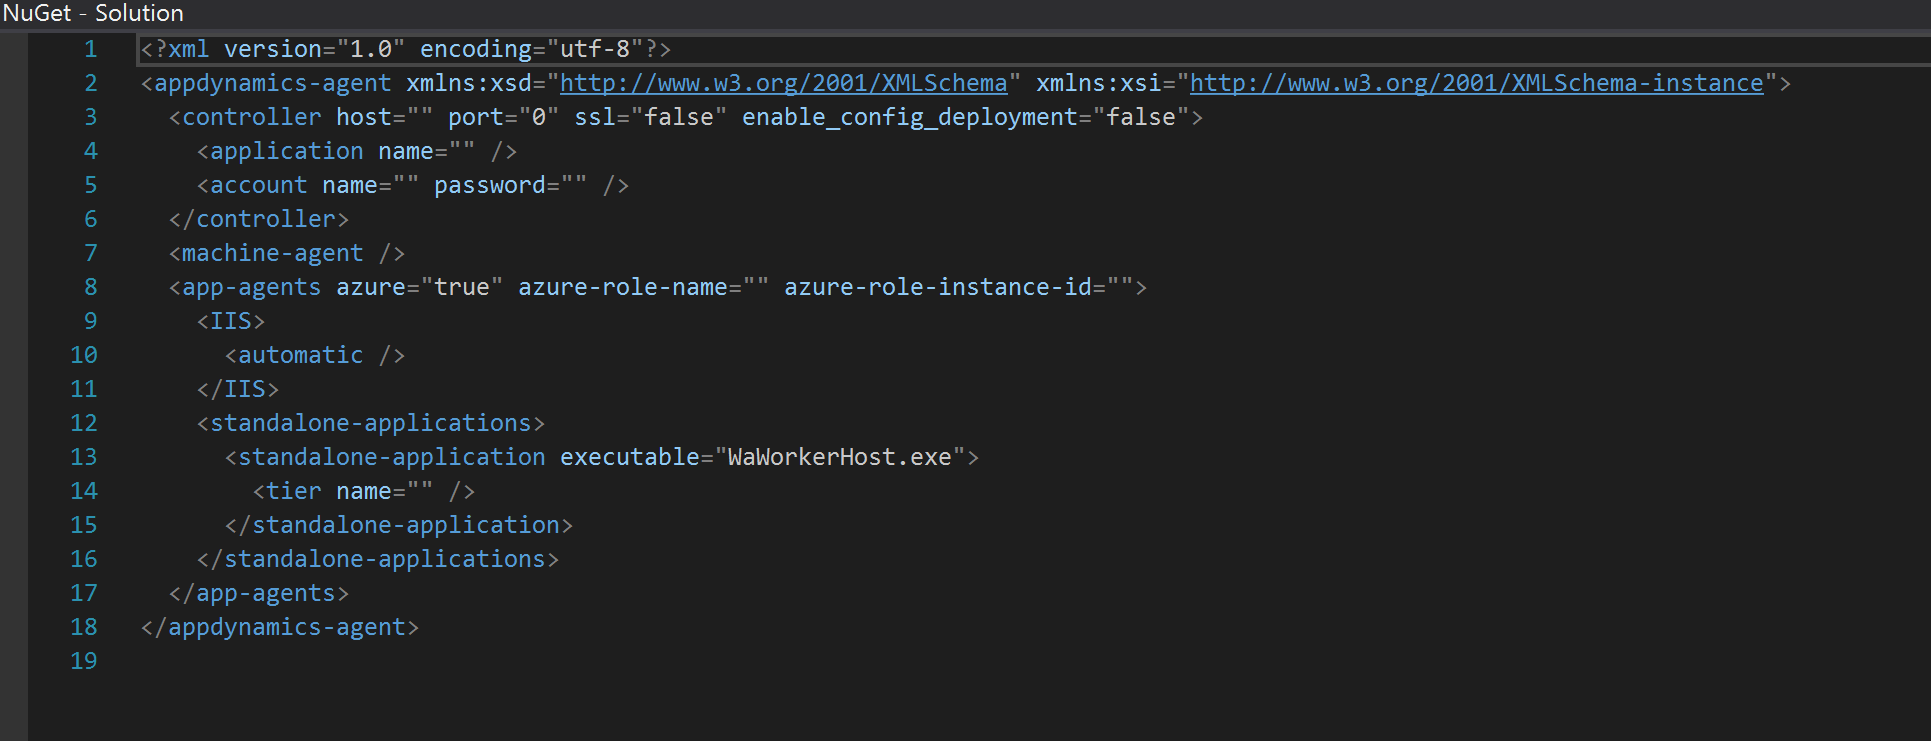
The configuration file installs to <project_root>/App_Data/AppDynamics/Config/config.xml. Enter the connection information for your AppDynamics Controller in the config.xml file. For details about Controller connection settings, see Agent-to-Controller Connections.

By default the .NET Agent names Azure tiers as role name for Cloud Services.
If you want to customize the tier name, edit config.xml under <project_root>/App_Data/AppDynamics/Config.xml. For more information and examples, see "Name IIS Tiers Manually" on Name .NET Tiers.
After you finish any configuration changes, publish your solution to Windows Azure. For Cloud Services solutions, you can put load on your published project and log on to the AppDynamics Controller and begin monitoring your solution.
Update .NET Agent Configuration for Cloud Services
If you have already published your solution, you can update the .NET Agent configuration for the currently installed version without upgrading the agent.
- Edit the config.xml file to make configuration changes.
- Edit the startup.cmd file under
<solution_root>/AppDynamics. By default, the APPD_AGENT_CONFIGUPDATE variable is set to true. If you want to modify the configuration on your Azure Cloud Services machine, and you want to prevent the AppDynamics script from overwriting it, set APPD_AGENT_CONFIGUPDATE to false.