Download PDF
Download page Install App Server Agents.
Install App Server Agents
Instrumenting an application adds the AppDynamics application agent (app agent) into the runtime process of the application. This page provides an overview of how to install agents in the application environment.
All use cases for App Server agents are supported on AWS Outposts similarly as in other deployment options.
Agent Installation Quick Start
The Getting Started Wizard in the AppDynamics Controller walks you through the steps to download and configure an agent for your application. This section provides an overview of how to use the wizard.
The wizard generates a fully configured agent, including a node identity. You should run the wizard for each application instance you want to monitor, or until you understand how to customize the configuration manually.
Before Installing an Agent
Ensure that:
- The agent supports your application environment. See App Server Supported Environments.
- You can access the application host with a user account that has sufficient privileges to install the agent and—for certain installation types—restart the application.
- The application host has network connectivity to the Controller. Proxies or firewalls on the network between the agent and Controller may require additional configuration.
Use the Getting Started Wizard
After verifying the requirements, follow the workflow as guided by the wizard:
- Open the wizard from the home page in the Controller UI by clicking Getting Started.
- Enter the configuration values for the application instance as described in the wizard. You name the node and indicate the tier and business application to which it will belong. If you are not sure of the best values to use, you can use temporary names and change them later.
- When finished, download the agent. How you download the agent varies by agent type. In most cases, the agent comes as a ZIP file that you extract and install in the startup routine of your server. For other types of agents, you may need to modify the instrumented source code, for example, by including the agent library. The wizard walks you through it for each agent type.
- Install the agent on your app server.
- Apply load to your application. If you are instrumenting a production application, this will happen with customer interaction. Otherwise, create some test load on your application. The agent instruments the application code and reports metrics back to the Controller.
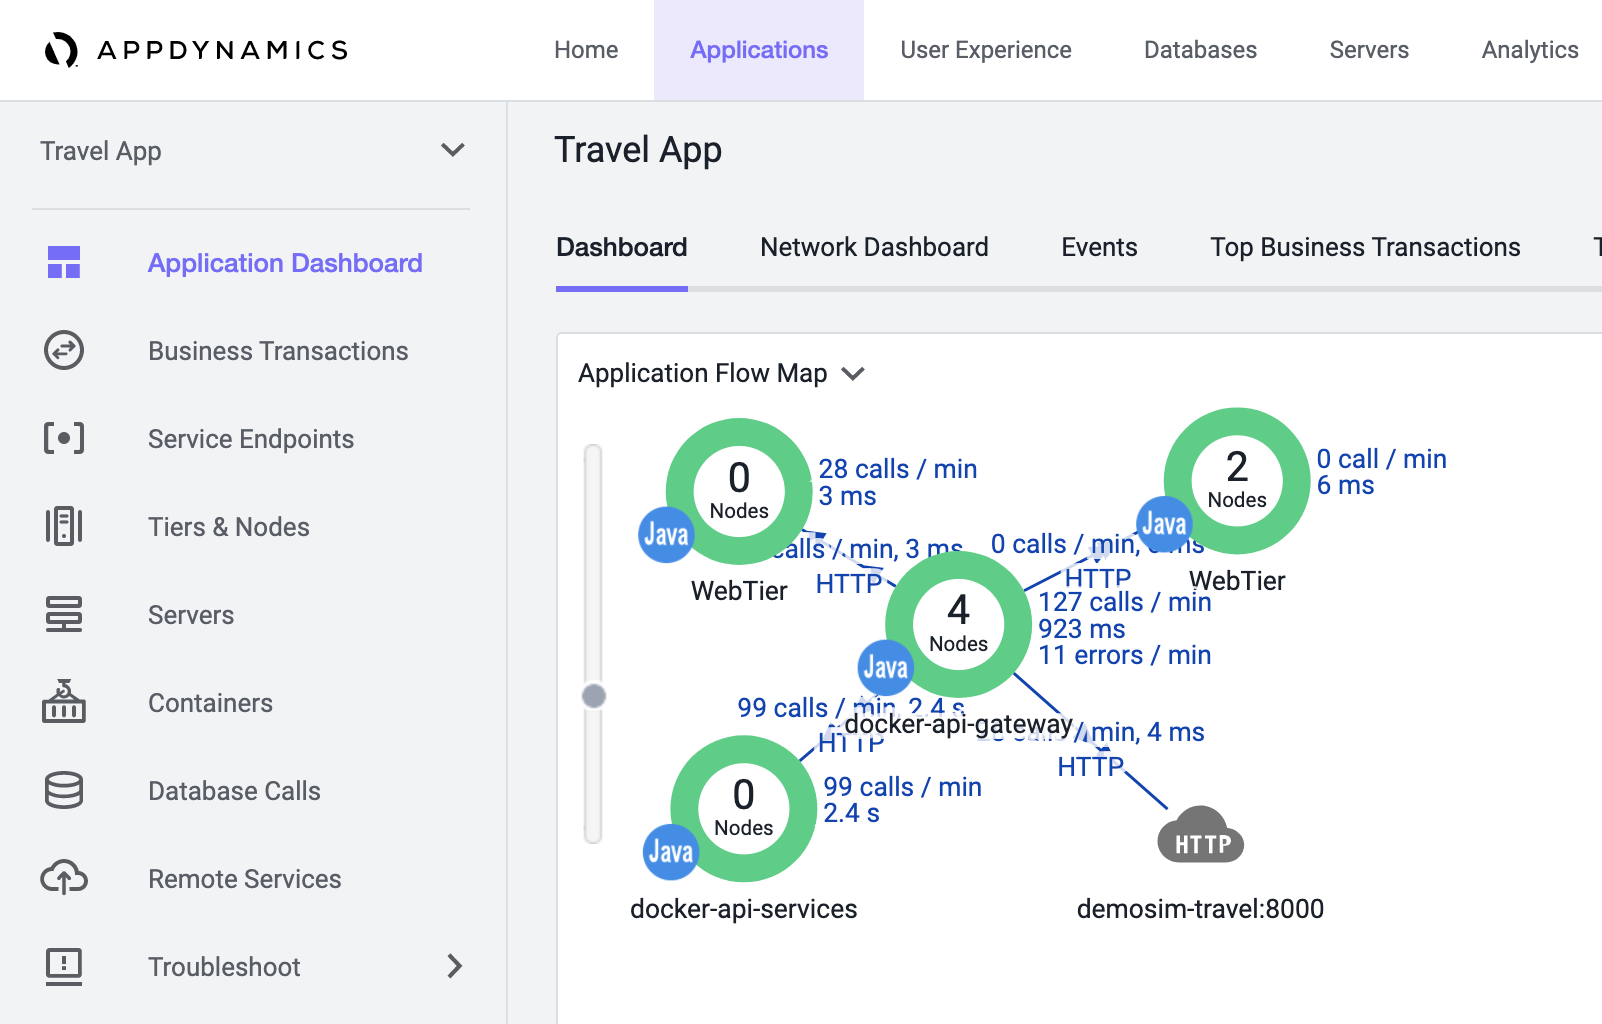
- View your application in the Application Dashboard. For example:
The wizard makes it easy to perform a basic agent installation with minimally required settings, such as the Controller host and port, SSL, application name, and tier name. For advanced options or more complicated scenarios, you need to perform a manual installation of the agent. For more information, see the agent-specific link in the following section.
Agent Installation by Type
For detailed installation information by agent type, see these topics:
- Java Agent
- .NET Agent
- Node.js Agent
- PHP Agent
- Python Agent
- Serverless APM for AWS Lambda
- Apache Web Server Agent
- C/C++ SDK
- Go Language Agent
- IBM Integration Bus Agent
- Machine Agent
- SAP Monitoring Using AppDynamics
- Getting Started with Ruby Agent
For automated deployment guidelines, see Controller Deployment.
Application, Tier, and Node Naming Guidelines
The maximum length of an application or tier name is 100 characters. The maximum length of a node name is 225 characters for Linux and 500 characters for all other operating systems. In your tier, node, and application names, you should avoid certain special characters. The characters you can use are listed on the Tiers and Nodes page.
Generally, node names should be unique. However, nodes that reside on different tiers and different machines (hosts) can have duplicate node names.
Within a business application, node names should always be unique in the following use cases:
- If the nodes reside on the same tier, but on different machines
- If the nodes reside on the same machine, but on different tiers
Node names and machine names must unique. When a node is registered to a Controller, it is associated with the machine it is on, and cannot be moved to another machine without changing the node name.
If the nodes names are the same in the aforementioned use cases, the nodes will not register or report successfully.
Nodes on proxy-based agents can have duplicate names on the same tier and same machine.
To rename an application, see Business Applications.
For node naming conventions by agent type, see the installation page for that agent, such as Node.js Agent or PHP Agent.
App Agent Network Bandwidth Usage
These guidelines can help you estimate how much bandwidth overhead will be added to your environment by deploying AppDynamics agents.
Keep in mind that the exact bandwidth required for a deployment varies greatly depending on the nature of your application, the agent configuration, and the AppDynamics features you use. The best way to determine the bandwidth overhead is to test the AppDynamics deployment in a staging environment that mirrors as closely as possible the live operating environment.
- The approximate bandwidth used by a single Java Agent with the default configuration is five to eight kilobytes per second.
- Scaling of additional agents is linear. That is, if the average bandwidth usage for an app agent in a given deployment is five kilobytes, adding 10 means that bandwidth usage will be 5 × 10, or 50 kilobytes.
- While the average bandwidth used is five to eight kilobytes per second, agents send data to the Controller in bursts rather than as a steady stream of data. When testing bandwidth usage, to determine the actual kilobytes per second used by an agent, you need to observe and average out traffic over the course of at least several minutes.
- When testing bandwidth usage in the environment, keep in mind that different types of tiers will generate a different amount of load. For instance, a database tier tends to generate more traffic between the agent and Controller than an application server tier. For the best possible estimate, the test should take this into account.
Agent License Considerations
For agent-based license units—including APM, database monitoring, and server monitoring—licenses are allocated to the first agents that register with the Controller up to the licensed limit. For example, with five agent licenses, the first five agents that connect to the Controller are licensed.
Agent licenses are not bound to a particular machine or application. Therefore, a transfer of an agent-based license can be accomplished simply by shutting down the application that runs the licensed agent—uninstalling the agent if the application will need to be restarted—and starting up the new application with the newly installed agent. Once the agent disconnects, a license unit is freed for the second agent.
For application monitoring agents (Java, .NET, Node.JS, and so on), a license validation cycle runs every five minutes. It causes the agents to connect and validate that available license units are not exceeded. Historical usage data is captured during this cycle and stored as five-minute usage data. Every hour, the five-minute usage data is rolled up in hour usage data, which includes data on license unit usage. The five-minute data is purged after a few hours.