Download PDF
Download page IBM WebSphere and InfoSphere Startup Settings.
IBM WebSphere and InfoSphere Startup Settings
The Java Agent passes the -javaagent argument command line option to WebSphere to ensure the App Server Agent has the correct permissions to monitor your app.
Security Requirements and Configuration
Full permissions are required for the agent to function correctly with WebSphere. Grant all permissions on both the server level and the profile level.
Run WebSphere with Security Enabled
To run WebSphere while J2EE security or Global security is enabled, you must make changes to WebSphere's server.policy file to prevent problems with the interaction between WebSphere and the Java Agent.
A codeBase value indicates the location of the source code. You must grant permissions to the code from that location. The codeBase is a URL value, and depends on the characters at the end. A codeBase with a trailing "/-" matches all files, both class and JAR files, in the directory and recursively all files in subdirectories contained in the directory.
- Navigate to the
server.policyfile, located in<websphere_home>/propertiesor in<websphere_profile_home>/properties. Add this code block to the WebSphere
server.policyfile:Syntax
grant codeBase "file:</full/path/to/agent_install_directory>/-" { permission java.security.AllPermission; };JAVAExample
grant codeBase "file:/opt/appdynamics/javagent/agent4.5.1.23676/-" { permission java.security.AllPermission; };JAVA- Save the file.
Performance Monitoring Statistic
Under Application servers > <server_name> > Performance Monitoring Infrastructure (PMI), set a Currently monitored statistic set to an option other than None for the JMX functionality to work.
Instrument WebSphere 7.x, 8.x, and 9.x, or InfoSphere 8.x
- Log in to the administrative console for the WebSphere node where you want to install the App Server Agent.
- In the administrative console, select Servers > Server Types > WebSphere application servers.
- Select the name of your server.
- In the Server Infrastructure section, select Java and Process Management > Process Definition.

- Under the Additional Properties section, select Java Virtual Machine.
- Enter the
javaagentoption with the full path to the AppDynamicsjavaagent.jarfile in the Generic JVM arguments field.
For Windows:
-javaagent:<Drive Letter>:<agent install location>\javaagent.jarCODEFor Linux:
-javaagent:<agent install location>/javaagent.jarCODE - Click OK.
WebSphere uses Equinox as its OSGi container. In some cases, you may also need to add the Java agent packages to the OSGi bootdelegation system property:
-Dorg.osgi.framework.bootdelegation=META-INF.services,com.singularity.*,com.ibm.*Instrument WebSphere 6.x
Log in to the administrative console for the WebSphere node where you want to install the Java Agent.
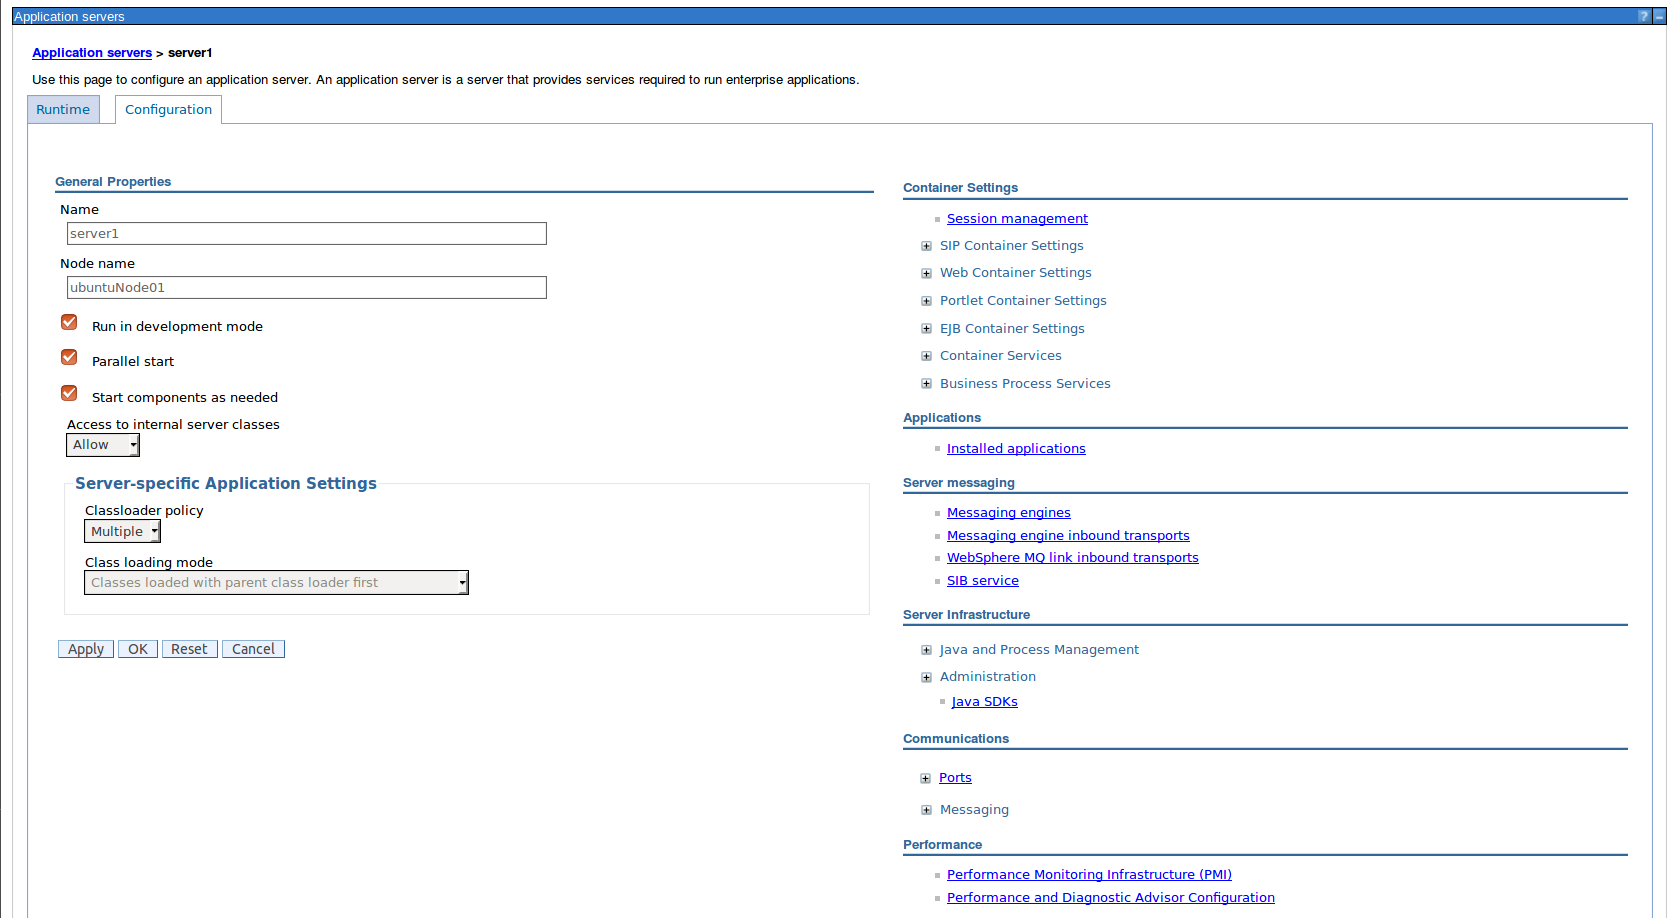
- In the left navigation tree, select Servers > Application servers.
- Click the name of your server in the list of servers.

- In the Configuration tab, select Java and Process Management.

- Enter the
javaagentoption with the full path to the Java Agentjavaagent.jarfile in the Generic JVM arguments field.For Windows:
-javaagent:<Drive Letter>:<agent install location>\javaagent.jarCODEFor Linux:
-javaagent:<agent install location>/javaagent.jarCODE
For example: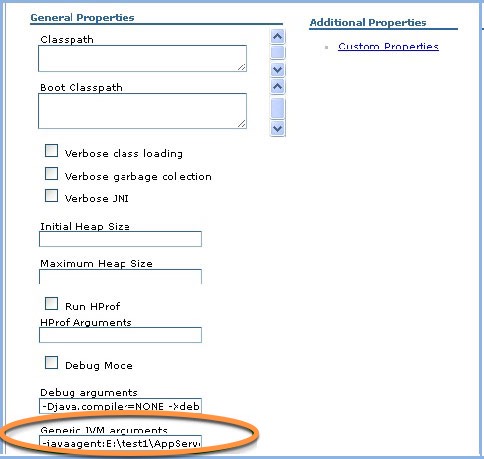
- Click OK.
Instrument WebSphere 5.x
- Log in to the administrative console of the WebSphere node where you want to install the App Server Agent.
- In the administrative console, click Servers.
- Click Application Servers.
- Click the name of your server.
- Under Additional Properties, click Process Definition.
- On the next page, under Additional Properties, click Java Virtual Machine.
- Enter the
javaagentoption with the full path to the Java Agentjavaagent.jarfile in the Generic JVM arguments field.
For Windows:
-javaagent:<Drive Letter>:<agent install location>\javaagent.jarCODEFor Linux:
-javaagent:<agent install location>/javaagent.jarCODE - Click OK.
Verify the Java Agent Configuration
Verify the configuration settings by checking the server.xml file of the WebSphere node where you installed the Java Agent. The server.xml file should have this entry:
<jvmEntries ... genericJvmArguments='-javaagent:E:\test1\AppServerAgent\javaagent.jar' disableJIT="false"/>