Download PDF
Download page Observe License Usage.
Observe License Usage
Related pages:
This page describes how to manage licenses in the Controller.
In the Controller, you can view and manage license usage and create rules for APM licenses. The Controller UI differs based on what license you have. The instructions below are separated between two licensing models: Infrastructure-based Licensing and Agent-based Licensing. To find out what license you have, see License Entitlements.
License Summary Dashboard
To manage licenses in the Controller, go to Settings  > License.
The License Summary dashboard displays summaries of usage for each license.
- For the Enterprise, Premium, and Infrastructure Monitoring licenses, widgets display license units consumed within the last 24 hours. This number can fluctuate on a day-to-day basis, as different agents pull from the pool of license units, such as how many CPU Core units are used in a day with the Enterprise license.
- For licenses with a limited consumption metric, such as Real User Monitoring, widgets display units consumed since the license purchase, and how many licenses are available before the expiration date.

View License Usage
- Go to License Summary.
- Click on a license to view license package details, usage over time, and associated license rules.
Usage metric descriptions:
- Overall Max License Units: maximum consumption during a 24-hour period
Overall Daily License Units: average consumption during a 24-hour period
Example: In a 24-hour period, 100 units were consumed in the first hour, then 200 units in the second hour, and 300 units in the third hour. The Overall Max License Units would be 300 units, and the Average License Units would be 200 units.
View License Rule Usage
- Go to License Rules.
- Click on a rule to view license usage.

Scope Licensing for Applications and Servers
When you purchase APM licenses, you can create rules to fine-tune license distributions across your organization. For example, a rule can be applied to one application running on several specific servers. See the diagram below for an example license scope configuration.

Create an APM License Rule
- Go to Settings
 > License Rules.
 - To create a new rule, click +. To edit an existing rule, click on a rule and click Edit
 .
. - Add a rule name.
- Enter a number of available license units to be applied to specific applications and servers.
- Under Application Scope, choose which applications are restricted to the license units you specified previously.
- Under Server Scope, choose to which server(s) you want to restrict license allocation.
- Click Done.
License Rule Best Practices
See License Rule Best Practices.
Account Usage Dashboard
To manage licenses, go to Settings ![]() > License.
> License.
Click on a license widget to see consumption limits. The graphs show the cumulative license usage over the time period you specify, even though the license usage count is reset daily. To see your license usage for one day, set the time range to 23 hours and 59 seconds.

Scope Licensing for Applications, Agents, and Servers
When you purchase APM licenses, you can create rules to fine-tune license distributions across your organization. For example, a rule can be applied to one application with specified agent license units allocated and running on specified servers. See the diagram below for an example license scope configuration.

Create an APM License Rule
- Click Settings > License > Rules.
- Click Create.

- In the General tab, enter the name of your rule and the number of units for each agent module type that this rule allocates.
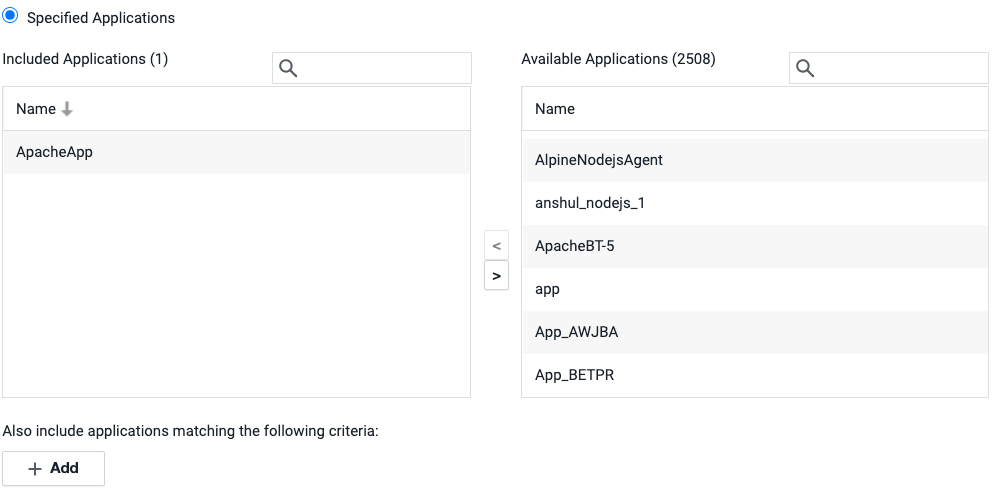
In the Application Scope tab, select Specified Applications to restrict which applications agents can report to.

Only agents that report to the applications you specify can consume the units allocated by this rule. You can select one or more applications from the Available Applications list and click the left arrow button to move the applications to the Included Applications box. You can specify matching criteria for allowed applications using the Add button. You can also specify matching criteria for applications that you have not yet created. The applications you specify using matching criteria will not appear in the Selected Applications box. You can select up to 100 applications to assign to a rule.
In the Server Scope tab, select Specified Servers to restrict which servers agents can be deployed to.
Only agents deployed on the servers you specify can consume the units allocated by this rule. You can select one or more servers from the Available Servers list, and click the left arrow to move the applications to the Selected Applications box. You can specify matching criteria for allowed servers using the Add button. You can also specify matching criteria for servers not yet monitored by AppDynamics. The applications you specify using matching criteria will not appear in the Selected Applications box.
Using the criteria specifications, you can select applications and servers by matching multiple machines using the match criteria. This is more efficient than scrolling through thousands of applications and machines to make your selections manually.
You can also add uninstrumented applications to the rule in the Application Scope and unmonitored machines in the Server Scope so that when you install the agents to instrument these unmonitored applications and servers, they will be allowed to consume licenses defined in this rule.
Return to the default rule and decrement your unit allocation by the number of units that you allocated in your custom rule. Otherwise, the allocations will show as over-provisioned.
You must allocate the same number of Machine Agents as your APM Agents. For example, if you allocate 10 Java Agents, 10 .NET Agents, and 10 Node.js Agents, you must allocate 30 Machine Agent units. For each rule you create, a new access key is generated, and the agents under that rule are authenticated with that generated key. Update your agent to use this new access key and restart the agent.